today i am so honoured to be the guest blogger over at the daily dose of handmade! so i decided i'd share the post here too - hopefully these tips will help someone!!!
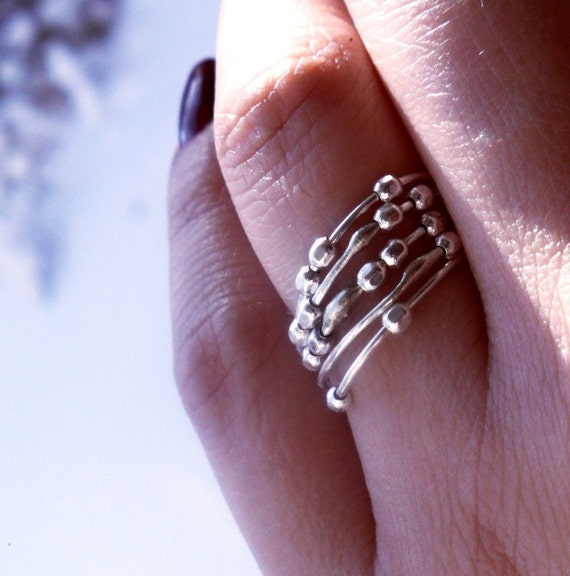
 |
| courtesy of gingermadesoap |
One of the first things I learned on my etsy journey was the importance of great photos. While having an online business is so awesomely convenient, it also poses a huge disadvantage to us small time retailers in that we have to sell our wares to people by pictures and words alone. You want to draw your customers in, have them fall in love with your creations, and then purchase them. It's not just about a great description, but also a fantastic photograph. Truly, a picture is worth a thousand words.
 |
| courtesy of the lovely smith |
Now I'm not saying that I'm the queen of taking super-duper fantastic product photos, but I'm hoping some of my tips will help you. Taking great pictures does not necessarily mean investing in a fancy camera or a high-tech lightbox. (although if I had the means, I would definitely do that). All you really need are four easy ingredients - a bright window, a white or interesting background, basic editing photo editing software, and a digital camera with a macro setting on it.
 |
| courtest of K5art |
Natural Light
Seriously the number one - and the cheapest - necessity. And unless you live in a windowless basement (sorry if you do) you have a window with great light. I prefer northern or southern exposure, but really, any window that gets good, indirect light will work. In my opinion, direct sunlight tends to bleach out details and adds a sometimes unnecessary yellowish cast on your items.
 |
| courtesy of sweetPB |
Background
A white piece of bristol board, the windowsill, a piece of scrapbooking paper, the bottom of a pot, anything with a flat, semi-matte finish will work. Sometimes a shiny background will make a glare and also can "bleach" out details of your designs while a very "busy" background will take away from your item. I find that for intricate jewelry, a simple background works best, while for more minimalist pieces, using a dish or even your own hand will work wonders.
 |
| courtesy of craftymothers |
Digital Camera
Even the most economical of digital camera have a macro setting. Usually the symbol for the macro setting is a little flower or tulip. It allows you to take very tight shots and get in really close to your item. MAKE SURE YOU FOCUS ON YOUR ITEM. Two things that I think are definite DON'Ts are: do NOT use the flash. That is what your good lighting source (your window) is for. Seriously, your item can be the best thing in the world, but if you take the picture with your flash, it will make your design look washed out and cheap. Secondly, do NOT forget to edit out the date and time stamp on your photo if you have that setting on your camera. Enough said. You can use photos from years ago but if they are excellent, no one will know the difference. Using the flash and leaving in the time/date stamp will make your pictures look like photos from your parents' 70's inspired basement. And who wants that.
 |
| courtesy of theorangewindmill |
Editing Software
A long time ago, I was able to afford Adobe Photoshop and transferred it to every computer I had since. However, with my newest desktop and laptop, it was too old. So I went in search of free digital editing software and I found
GIMP. While it isn't Photoshop, it is truly amazing, easy to learn, and does everything I need to edit my etsy photos. Honestly, all you need is to be able to crop closer to your item, maybe adjust the brightness and contrast a little, and resize so that it doesn't take ages to upload. However, don't use your editing software to make your item look like something it isn't. Buyers will be very disappointed if what they received does not look like what they saw on your site.
 |
| courtesy of 50splinterswoodworks |
Finally, do some research! Go through your "favorites" on etsy and the internet and really look at the photos to see what makes that item appeal to you. Is it the lighting? The details? The background? Don't be afraid to use all of the photos that they allow you to, and remember that seeing your item "in action" will help buyers see scale and how it might look on them.
Here are some more articles that you might find helpful:
How To from Etsy
A Simple Lightbox - from The Strobist
Photoplus - Editing Software
PAINT.net - Editing Software
(and a special thanks to my teammates for taking such gorgeous photos!)
Read more...


